Introduction
If you’ve discovered mold, you might wonder: “What exactly happens during mold remediation?” In this post, we walk you through each stage of a professional mold remediation job. Understanding the steps helps you be an informed homeowner, know what to expect, and coordinate well with remediation providers. Plus, you can refer back to our mold remediation service page or check our contact page at any time.
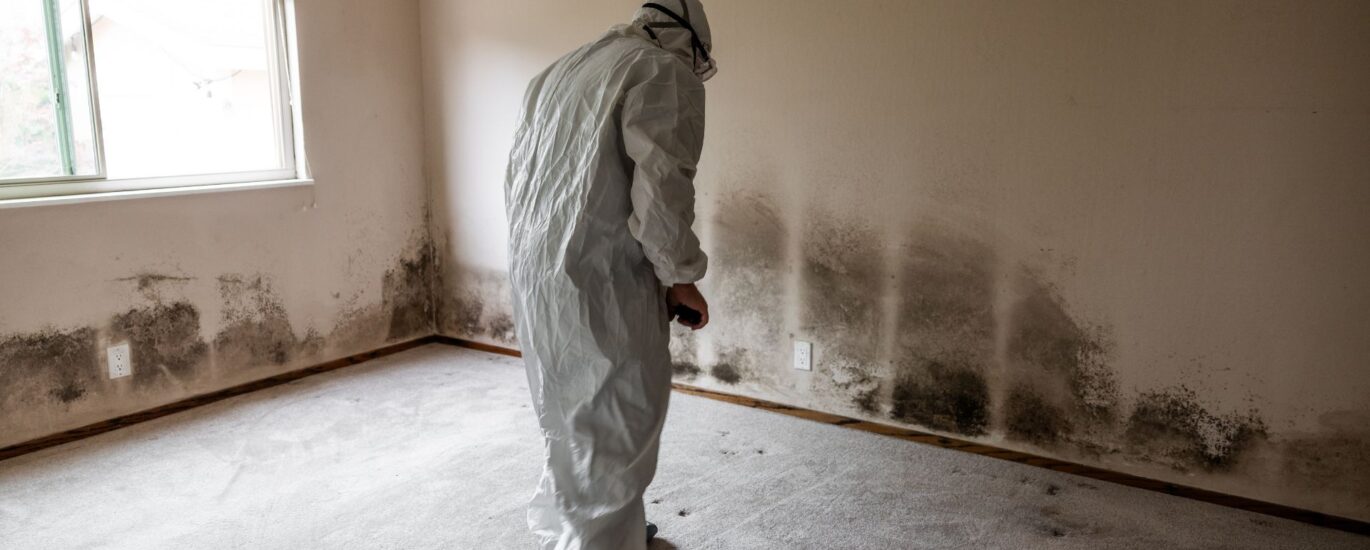
Stage 1: Assessment & Planning
- Conduct a visual inspection, look for moisture intrusion
- Use tools (moisture meters, infrared thermography, possibly air sampling)
- Map the mold-affected zones, classify severity
- Develop a remediation plan (containment, materials removal, drying, etc.)
This upfront planning ensures the work is effective and contained properly.
Stage 2: Containment & Hazard Control
Containment is essential to prevent spores from spreading:
- Seal off remediation areas with plastic barriers
- Use negative air pressure machines to pull contaminated air out
- Close or seal HVAC vents and ducts in affected zones
- Workers wear personal protective equipment (PPE) including respirators
Proper containment ensures spores don’t migrate into unaffected rooms.
Stage 3: Removal of Contaminated Materials
Not all materials can be cleaned. The process includes:
- Removing non-salvageable items: drywall, insulation, carpeting, ceiling tiles
- Cutting out mold-infested framing or wood where necessary
- Double-bagging and sealing debris for safe transport
After removal, you begin the cleaning work.
Stage 4: Cleaning, HEPA Vacuuming & Disinfection
Cleaning is about more than killing mold — it’s removing spores and residues:
- HEPA vacuum walls, floors, and surfaces
- Use damp wiping with antimicrobial or antifungal agents
- Clean underlying surfaces (e.g. studs, concrete)
- Seal porous surfaces (when appropriate)
This step eliminates residual spores that could regrow.
Stage 5: Drying & Dehumidification
Moisture control is critical:
- Deploy industrial dehumidifiers, air movers, and desiccant dryers
- Monitor moisture in structural cavities, walls, and floors
- Continue drying until referenced moisture levels are achieved
If moisture remains, mold can return.
Stage 6: Restoration & Repairs
Once cleaned and dried, the rebuild begins:
- Install new drywall, insulation, flooring, painting
- Reconstruct surfaces removed earlier
- Seal and finish surfaces to ensure durability
At this point, your space is essentially restored to pre-mold condition.
Stage 7: Verification & Follow-Up
A thorough project includes confirmation:
- Post-remediation visual inspection
- Optional air sampling or surface testing (if requested)
- Moisture rechecks
- Recommendations to prevent recurrence
After completion, you should maintain vigilance and monitor moisture sources.
How the process loops with prevention
Restoration isn’t the final step — it’s tied to long-term prevention:
- After remediation, you’ll want to monitor humidity, leaks, ventilation
- If future moisture events occur, early detection can trigger a smaller remediation job
- Each blog post here connects: you learn signs (Blog 1), you understand the process (Blog 2), and in the third blog, you’ll see case studies and best practices
Visit our mold remediation page for full service details or reach us via the contact page.

